 English
  العربية
  日本語
日本語  한국어
한국어  Tiếng Việt
  ไทย
ไทย  Bahasa Melayu
  فارسی
فارسی  Bahasa Indonesia
  ဗမာစာ
ဗမာစာ  简体中文
简体中文  香港中文
香港中文  繁體中文
繁體中文  Русский
  Deutsch
  Nederlands
  Italiano
  Français
  Español
  Português
  Afrikaans
  Azərbaycan dili
  Български
  ਪੰਜਾਬੀ
  हिन्दी
  اردو
اردو  বাংলা
বাংলা  Հայերեն
  Íslenska
  Қазақ тілі
  नेपाली
  Српски језик
  Kiswahili
  తెలుగు
  Basa Jawa
  தமிழ்
தமிழ்  मराठी
मराठी How to Connect Solar Panels to a Power Station
Match PV voltage, current, wattage, connector type, and wiring configuration before the first cable is connected.
Understanding Solar Panel and Power Station Compatibility
Checking Voltage, Current, and Wattage Limits
Before connecting a solar panel, compare its electrical output with the portable power station’s PV input specifications. Check:
- Voltage: The panel voltage must remain within the station’s permitted DC input range.
- Current: The panel’s current should not exceed the station’s maximum solar charging current.
- Wattage: The combined panel output must be compatible with the power station’s charging limit.
TURSAN portable power stations are available in models from 300W to 3600W, with integrated solar input, AC/DC charging, DC output terminals, and an intelligent Battery Management System (BMS). Always use the specifications for the selected model rather than relying only on its maximum output rating.
Can You Connect Any Solar Panel to Any Power Station?
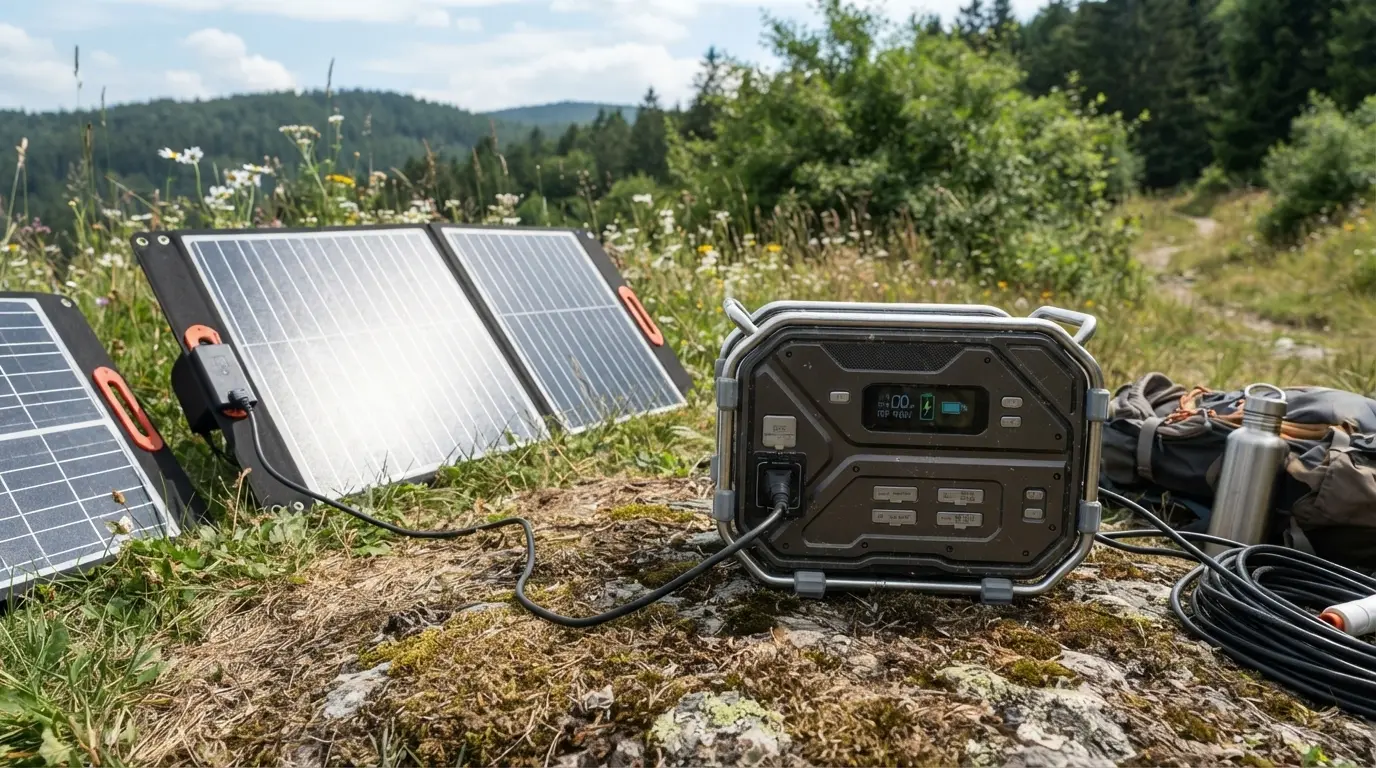
No. Solar panels and power stations must be electrically compatible. A panel with excessive voltage, current, or total wattage can prevent charging or trigger the station’s protection functions.
For a reliable connection:
- Confirm the panel output matches the power station’s PV input range.
- Check the maximum permitted solar charging current and wattage.
- Use a compatible cable and adapter for the station’s solar input port.
- Monitor the display panel or available Wi-Fi and Bluetooth interface after connection.
The intelligent BMS helps manage safe battery operation, but it does not replace the need to verify solar panel compatibility before connection.
Essential Cables, Connectors, and Adapters Needed
The correct cable path is essential when learning how to connect a solar panel to a power station. Use the panel’s output connector, a compatible adapter cable, and the power station’s designated PV input or DC charging port. Do not force a connector into a port or use an adapter that does not match the station’s solar input requirements.
Common Solar Connectors: MC4, XT60, Anderson, and DC Ports
Solar panels commonly use MC4 connectors, which have separate positive and negative ends and are designed for outdoor PV wiring. Portable power stations may use different solar input ports, including XT60, Anderson, or DC ports.
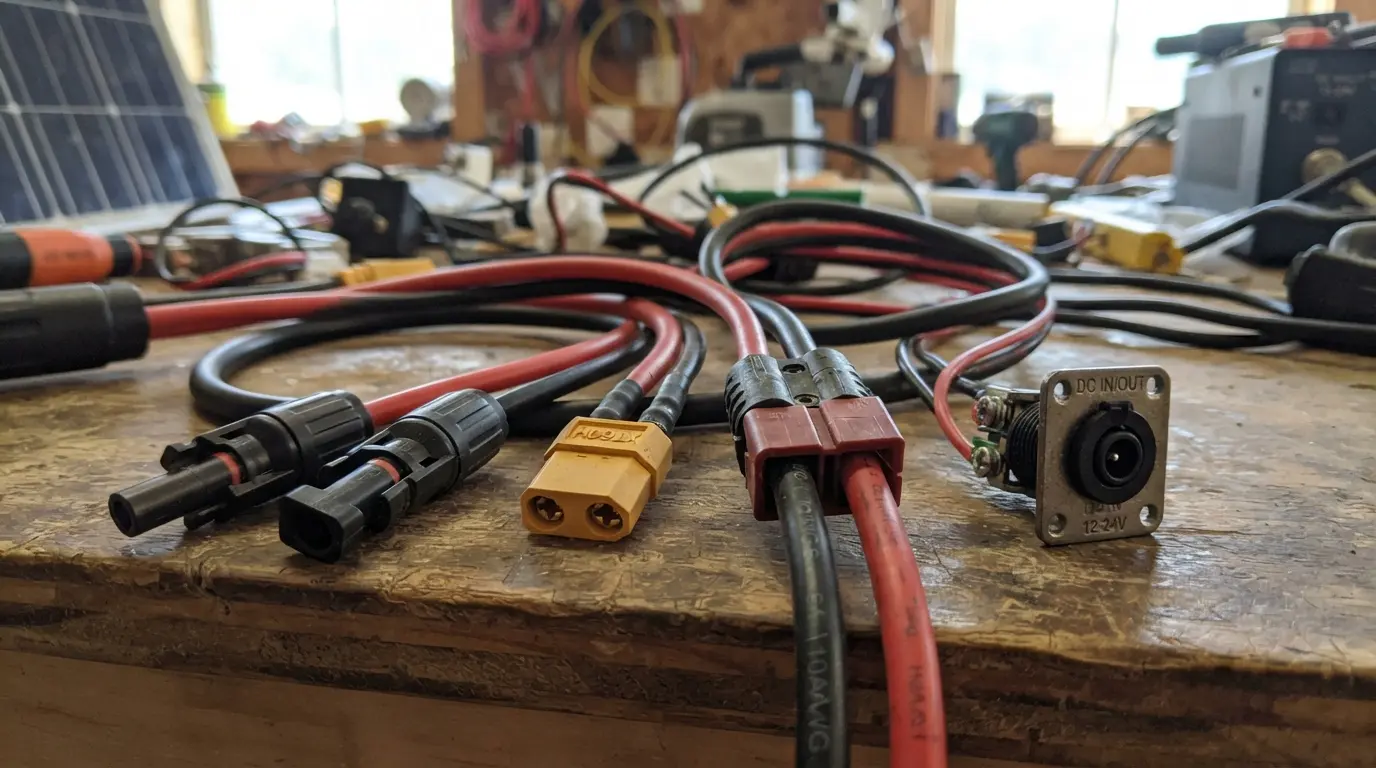
| Connector type | Typical role in a solar setup |
|---|---|
| MC4 | Standard connector on many solar panel output cables |
| XT60 | Compact DC connector used on some portable power station PV inputs |
| Anderson | High-current connector used in certain battery and power systems |
| DC port | Round DC input found on some power stations and charging systems |
The connector on the solar panel does not need to match the power station port directly. An appropriate adapter cable can bridge the two connection types while keeping positive and negative polarity correctly aligned.
Selecting the Right Cable and Adapter for Your Setup
Select an adapter based on the solar panel connector and the exact PV input port on the portable power station. For example, a panel with MC4 outputs may require an MC4-to-DC, MC4-to-XT60, or MC4-to-Anderson adapter cable, depending on the station model.
Before connecting solar power, check that the cable and adapter support the system’s rated DC voltage and current. Keep cable runs practical and secure to reduce unnecessary power loss. For off-grid applications, the same careful connector matching supports dependable energy collection and storage, alongside planning for off-grid solar, diesel, and hybrid generator options.
Use only the designated solar charging input on the power station. A compatible cable connection allows the integrated BMS to manage incoming power safely while the display panel or connected interface shows the charging status.
Series vs. Parallel Connections for Multiple Solar Panels
When I connect more than one solar panel to a portable power station, I first check the station’s PV input voltage and current limits. The wiring method must stay within the specified range.
Connecting Panels in Series to Increase Voltage
A series connection links the positive connector of one panel to the negative connector of the next. This arrangement increases the combined voltage while keeping the current at the level of the connected panels.
Use series wiring only when the total panel voltage remains within the power station’s solar input range. Exceeding the PV input limit can damage the charging system.
Connecting Panels in Parallel to Increase Current
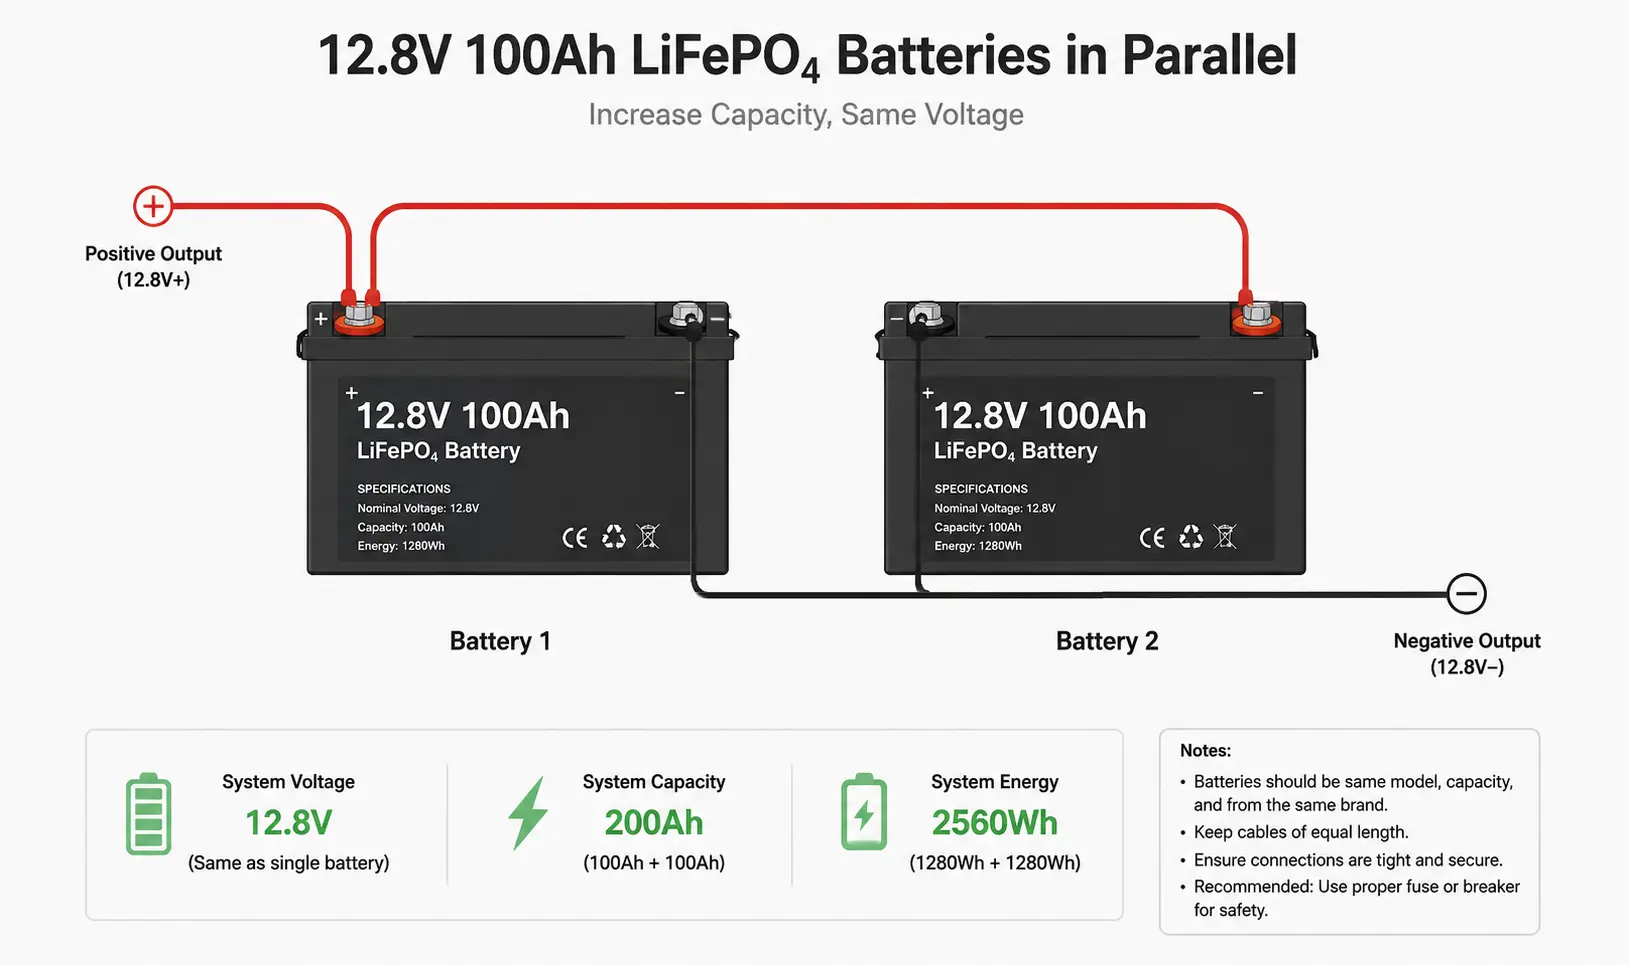
A parallel connection joins the positive connectors together and the negative connectors together. This increases the available current while keeping the system voltage closer to that of one panel.
Parallel wiring is suitable when the power station can accept the combined current. Always confirm the maximum input current before connecting multiple panels.
How to Choose the Right Wiring Configuration
| Wiring method | Main change | Check before connection |
|---|---|---|
| Series connection | Increases voltage | Maximum PV input voltage |
| Parallel connection | Increases current | Maximum PV input current |
I select the configuration based on the power station’s specifications and the solar panels’ electrical ratings. The final voltage and current must both remain within the approved PV input limits. For TURSAN portable power stations, matching the solar array to the model’s input parameters supports safe charging managed by the intelligent BMS.
Step-by-Step Guide: How to Connect Solar Panels to a Power Station
Connecting solar panels to a portable power station is straightforward when the solar array stays within the station’s supported PV input range. We recommend checking all ratings before making a connection.
Step 1: Check Input Voltage and Current Specifications
Read the solar input label and user documentation on the power station. Confirm that the combined panel output does not exceed the allowed PV input limits.
| Check | What to Confirm |
|---|---|
| DC voltage | The panel or array voltage is within the station’s solar input range. |
| Current | Array current does not exceed the supported input current. |
| Wattage | Panel output is appropriate for the power station’s charging capability. |
| Port type | The connector matches the designated solar or DC charging port. |
TURSAN portable power stations include integrated battery management systems to support reliable charging, but the PV input must still be matched correctly. For wider storage planning, see this guide to how home batteries connect with the power network.
Step 2: Wire Solar Panels in Series or Parallel
Choose the wiring method based on the input requirements of the power station.
| Connection | Wiring Method | Main Result |
|---|---|---|
| Series connection | Connect the positive connector of one panel to the negative connector of the next panel. | Increases voltage. |
| Parallel connection | Connect positive-to-positive and negative-to-negative with suitable branch connectors. | Increases current. |
Keep the final array voltage and current within the specified PV input limits. Use matching panels where possible to help maintain stable solar charging performance.
Step 3: Attach the Adapter Cable to the Panel Output
Connect the solar panel output to the correct adapter cable. Many solar panels use MC4 connectors, while a power station may use a dedicated DC port or another input connector.
- Confirm positive and negative polarity before joining connectors.
- Connect the panel-side connectors fully and securely.
- Use an adapter designed for the station’s solar input port.
- Keep cables dry, clean, and free from damage.
Do not force a connector into the port. A properly matched cable protects the connection and helps the system deliver stable charging power.
Step 4: Plug into the Power Station and Verify Charging Input
Insert the adapter cable into the power station’s designated solar or DC charging input. Turn on the unit if required, then check the display panel for solar charging status and input wattage.
TURSAN power stations combine LiFePO4 battery cells, an intelligent BMS, and built-in charging hardware to manage incoming solar energy. On models with Wi-Fi or Bluetooth capability, available smart connectivity can also support system monitoring.
After charging begins, the power station can supply supported loads through its DC outputs or built-in pure sine wave inverter output, subject to the unit’s rated capacity and power limits.
Tips for Maximizing Solar Charging Efficiency
Optimizing Panel Orientation and Sunlight Exposure
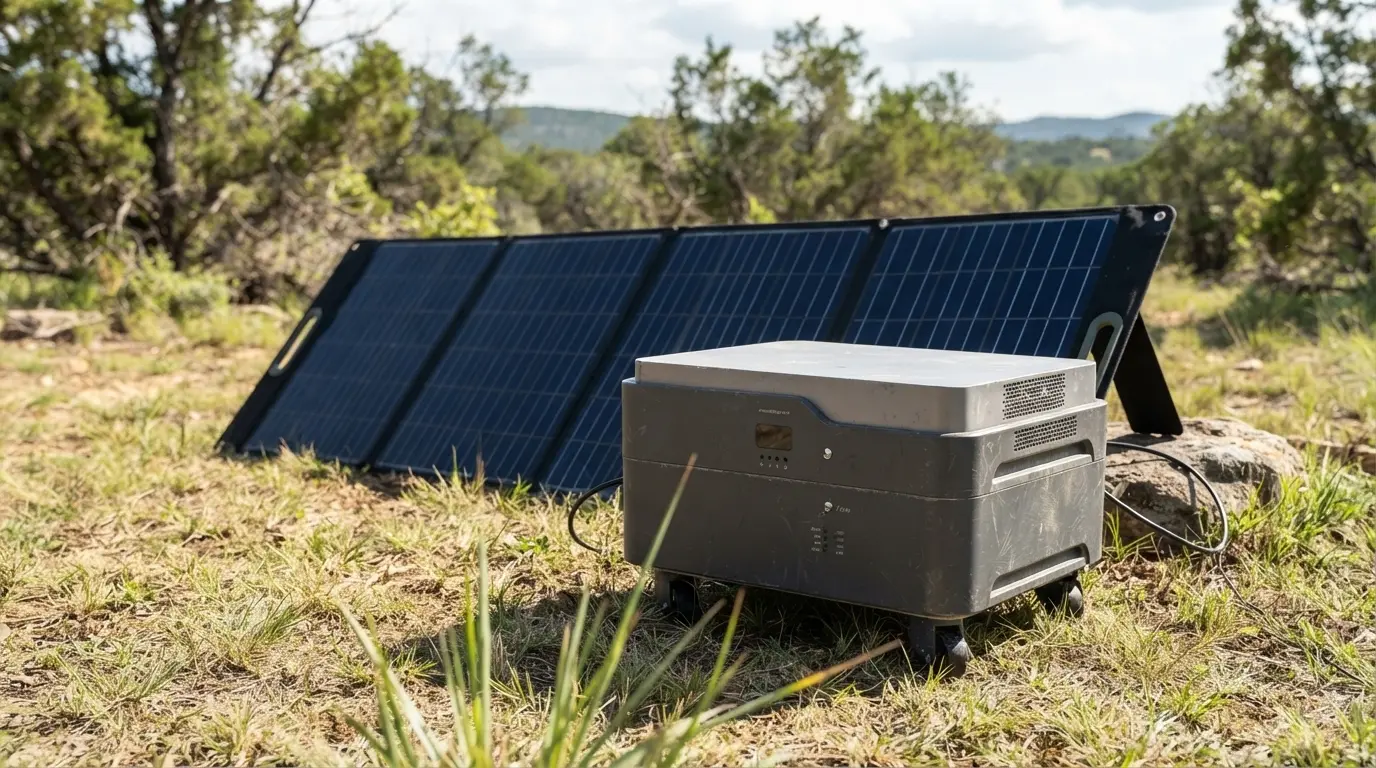
I recommend placing the solar panel where it receives direct, unobstructed sunlight for the longest practical period. Keep the panel surface clean and reposition it as sunlight changes during the day. Check the power station’s display panel or smart IoT interface through Wi-Fi or Bluetooth to monitor the actual PV input and charging status.
For off-grid planning, combine the portable power station’s capacity with your expected daily energy use. TURSAN LiFePO4 power stations support eco-friendly solar storage, while their intelligent BMS helps manage incoming power safely. You can also review this guide to off-grid solar and backup power options when planning a wider energy setup.
Managing Temperature and Cable Distance to Prevent Power Loss
Place the power station and cables in a dry, ventilated location away from unnecessary heat. Use the correct solar cable and adapter, keep the cable run as short as practical, and avoid damaged or loosely connected plugs. Long or poor-quality connections can reduce charging performance.
Always stay within the power station’s specified PV input limits. Monitoring the charging wattage on the display helps identify weak sunlight, connection problems, or unsuitable panel input.
Safety Precautions and Best Practices
Preventing Over-Voltage and Circuit Overload
When connecting a solar panel to a power station, always confirm that the panel array’s voltage, current, and wattage stay within the unit’s stated PV input limits. Do not assume that a larger solar array will charge faster; excessive DC voltage or current can trigger protection or damage equipment.
- Check the power station’s supported solar input range before wiring panels.
- For a series connection, add panel voltages together and keep the total within the PV input limit.
- For a parallel connection, total current increases, so verify the station can accept the combined current.
- Use correctly rated cables, connectors, and adapters for the expected solar load.
- Connect only to the designated solar or DC charging port.
Our portable power stations use an intelligent BMS to support safe battery operation, but correct solar array sizing remains essential. The BMS is a protection layer, not a substitute for matching the solar panel system to the power station input specification.
Safe Handling and Outdoor Weather Precautions
Handle solar cables and connectors with care. Before connecting a solar panel to a power station, inspect the cable insulation, positive and negative connectors, and adapter ends for cracks, loose fittings, moisture, or visible damage. Do not use damaged components.
Keep connections dry and firmly seated, especially in outdoor or off-grid installations. Place the portable power station on a stable, dry surface with clear airflow around the enclosure. Avoid exposing the unit, ports, and cable joints to standing water or severe weather.
For larger backup or solar storage installations, use the same careful approach to wiring, protection, and system placement described in this guide to home battery backup system components, wiring, and safety. Safe installation helps protect the power station, connected loads, and the people using the system.
Frequently Asked Questions About Connecting Solar Panels
Can You Charge a Power Station While Powering Devices?
Many portable power stations can accept solar charging while supplying power through their DC outputs or built-in pure sine wave inverter. Check the specific unit’s operating instructions and monitor its display panel during use. The intelligent BMS manages battery operation and helps maintain safe charging and discharging conditions.
For planning backup use, see our guide on how long a solar battery can power a house.
What Happens If Solar Panel Wattage Exceeds Power Station Limits?
A solar panel array must stay within the power station’s specified PV input limits, including DC voltage, current, and wattage. Do not assume that a higher-wattage panel or larger array is automatically compatible. Excess input beyond the rated limits can create an unsuitable setup, so always match the panel configuration to the power station’s solar input specifications before connection.
How Do You Know If the Solar Panel Is Actively Charging?
After connecting the solar panel to the designated PV or DC charging port, check the power station’s integrated display panel for charging status and input power. On compatible models, Wi-Fi or Bluetooth connectivity can also support status monitoring through the IoT interface. A visible solar input reading confirms that the panel is delivering power to the portable power station.