 English
  العربية
  日本語
日本語  한국어
한국어  Tiếng Việt
  ไทย
ไทย  Bahasa Melayu
  فارسی
فارسی  Bahasa Indonesia
  ဗမာစာ
ဗမာစာ  简体中文
简体中文  香港中文
香港中文  繁體中文
繁體中文  Русский
  Deutsch
  Nederlands
  Italiano
  Français
  Español
  Português
  Afrikaans
  Azərbaycan dili
  Български
  ਪੰਜਾਬੀ
  हिन्दी
  اردو
اردو  বাংলা
বাংলা  Հայերեն
  Íslenska
  Қазақ тілі
  नेपाली
  Српски језик
  Kiswahili
  తెలుగు
  Basa Jawa
  தமிழ்
தமிழ்  मराठी
मराठी A practical planning guide for matching essential loads, inverter power, battery voltage, and usable capacity to the way a household actually experiences an outage.

Energy Audit and Load Sizing
When I build a battery backup system, I begin with the loads that matter during an outage: keeping food cold, operating a sump or well pump, powering medical equipment, maintaining Wi-Fi, and providing essential lighting. I separate these from non-essential whole-home loads such as electric heating, water heating, and large cooking appliances.
1. List Continuous and Starting Loads
Record the running wattage and expected operating hours for each device. Compressors and pumps may require considerably more power for a short period when they start, so both values must be included.
| Load | Continuous power | Starting surge | Daily runtime |
|---|---|---|---|
| Refrigerator | ___ W | ___ W | ___ hours |
| Sump or well pump | ___ W | ___ W | ___ hours |
| Medical equipment | ___ W | Usually low | ___ hours |
| Wi-Fi equipment | ___ W | Usually low | ___ hours |
| Lighting | ___ W | Usually low | ___ hours |
Use the appliance label, manufacturer data, or a suitable power meter. Add the starting surge of motors, pumps, compressors, and other inductive loads when selecting the inverter.
2. Calculate Energy Use
Calculate each load with:
Watts x Hours = Watt-hours (Wh)
For example, a 100 W device operating for 8 hours uses:
100 W x 8 hours = 800 Wh
Add the results for all critical loads, then apply a 15%-20% allowance for inverter losses, battery charging losses, and real-world variation. This gives a more practical battery capacity target.
3. Create a Backup Power Worksheet
Document the following before choosing the battery and inverter:
- Required outage duration
- Essential loads and critical circuits
- Continuous running watts
- Starting surge wattage
- Daily energy demand in Wh
- Battery capacity target in Wh or kWh
- Power priorities if the outage lasts longer than expected
This worksheet prevents oversized expectations and helps match the backup system to actual household requirements. For higher-demand applications, TURSAN systems support LiFePO4 energy storage capacities from 1.28 kWh to 32.15 kWh, depending on the selected battery configuration.
Choose the Right Battery Backup System Voltage
I match the nominal system voltage to inverter power, cable runs, and future expansion. Higher voltage lowers DC current for the same load, which can reduce cable size, voltage drop, and heat at high power.
| System Voltage | Practical Power Range | Best Fit | Main Consideration |
|---|---|---|---|
| 12V | Under 1,000W | Compact emergency power, lights, Wi-Fi, small electronics | High current rises quickly as load increases |
| 24V | 1,000W-3,000W | RVs, cabins, and mid-size off-grid systems | Balanced current, wiring, and capacity options |
| 48V | Above 3,000W | Home backup and larger energy storage systems | Lower current and better expansion for higher loads |
12V Battery Backup System
A 12V battery system is a practical choice for compact backup power below 1,000W. It suits small essential loads such as lighting, routers, phones, and basic electronics. TURSAN offers LiFePO4 battery options based on a 12.8V nominal platform.
At 1,000W, a 12V system can draw roughly 83A before allowing for inverter losses. That requires short, properly protected heavy battery cables. I avoid scaling 12V systems too far because current, cable cost, and connection heat increase fast.
24V Battery System
A 24V battery system fits mid-size RV, cabin, and off-grid use from about 1,000W to 3,000W. At the same load, it uses about half the DC current of a 12V design. For example, a 2,400W load at 24V is about 100A before losses, compared with about 200A at 12V.
This voltage is a useful middle ground when a system needs more inverter power without moving to a larger home backup platform.
48V Battery Backup System
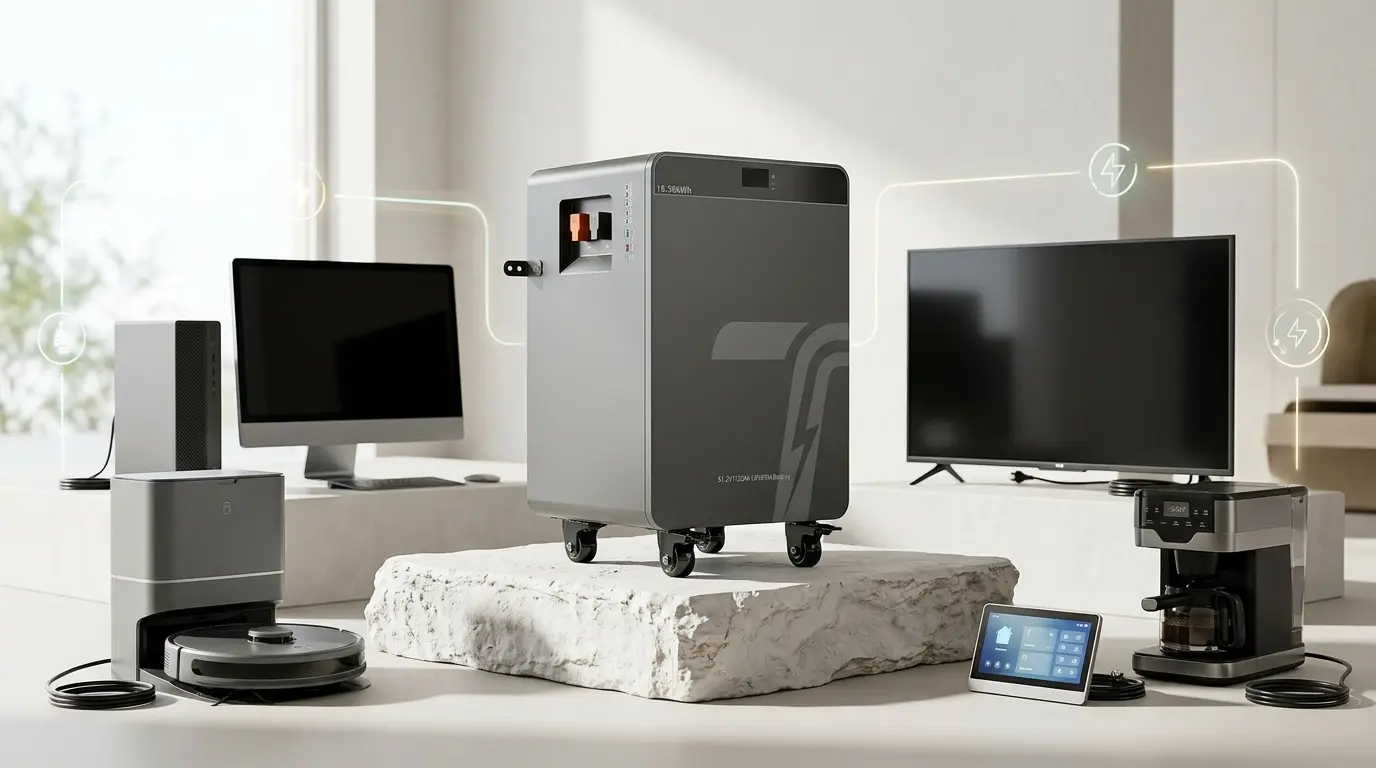
For a home battery backup system above 3,000W, I use a 48V battery system. TURSAN’s 51.2V nominal LiFePO4 battery platforms are designed for the 48V class and support modular energy storage layouts.
A 4,800W load at 48V is about 100A before losses. The same load at 12V would be about 400A. Lower current makes it easier to manage cable size, voltage drop, busbar loading, and future battery expansion. For larger floor-standing systems, use the same criteria applied when choosing a floor-standing LiFePO4 battery manufacturer: compatible battery modules, reliable BMS protection, and a system design that can scale.
Voltage Selection Rules
- Match the inverter DC input exactly to the battery bank voltage.
- Size for the loads you expect to add later, not only today’s minimum load.
- Use 12V for low-power, short-run backup systems.
- Use 24V when inverter demand and cable current exceed what is practical for 12V.
- Use 48V for high-power residential backup, larger battery banks, and modular ESS installations.
- Only connect batteries in series or parallel when the battery manufacturer approves the configuration.
Select a Battery Bank for a Battery Backup System
I size the battery bank in watt-hours (Wh) first, then match it to the system’s nominal voltage and amp-hour capacity. For home backup, RV, cabin, and off-grid use, LiFePO4 is a practical choice because it offers long service life, with TURSAN lithium battery solutions rated for 6,000+ cycles and backed by a 5-year warranty.
| Battery type | Key checks before selection |
|---|---|
| LiFePO4 battery bank | Usable capacity, BMS protection, charging limits, temperature range, series/parallel approval |
| AGM battery | Usable capacity, weight, charging requirements, depth of discharge, cold-weather performance |
| Lead-acid deep-cycle battery | Usable capacity, maintenance needs, charging profile, weight, and installation space |
Calculate Battery Bank Size
Use this basic battery bank sizing formula:
Battery capacity needed (Ah) = Required energy (Wh) / Battery voltage (V) / usable capacity factor
Example:
- Required backup energy: 2,400Wh
- Battery system: 24V
- Usable capacity factor: 0.8
2,400Wh / 24V / 0.8 = 125Ah
A 24V battery bank with at least 125Ah of usable capacity is the minimum target for that load profile. Add capacity when outages may last longer or when future loads may increase.
TURSAN LiFePO4 battery modules are available in 12.8V, 25.6V, and 51.2V options, with capacities from 100Ah to 628Ah. This supports compact backup systems as well as larger energy storage system (ESS) designs.
Choose the Right Battery Format
| Battery format | Best fit |
|---|---|
| Portable battery | Small emergency loads and mobile backup |
| 19-inch rack-mount battery | Equipment racks, structured off-grid systems, and space-conscious installations |
| Wall-mounted battery | Permanent backup installations with limited floor space |
| Stackable floor-standing battery | Scalable residential backup systems |
| DIY battery pack | Custom projects only when enclosure, protection, wiring, and compatibility are fully controlled |
For a scalable installation, I favor a properly enclosed rack-mount or floor-standing LiFePO4 system over loose battery packs. A floor-standing LiFePO4 battery manufacturer selection guide can help evaluate enclosure quality, capacity options, and factory support.
Verify BMS and Battery Compatibility
Every lithium battery bank needs an intelligent battery management system (BMS). Confirm that the BMS supports:
- Overcharge protection
- Over-discharge protection
- Overcurrent protection
- Short-circuit protection
- Cell balancing
- Temperature monitoring and protection
Safety rule: Only connect batteries in series or parallel when the battery manufacturer approves that configuration. Match battery chemistry, nominal voltage, capacity, age, state of charge, and BMS requirements. Mixing unmatched batteries can create imbalance, overheating, reduced battery life, or BMS shutdowns.
Choose a Pure Sine Wave Inverter and Charger
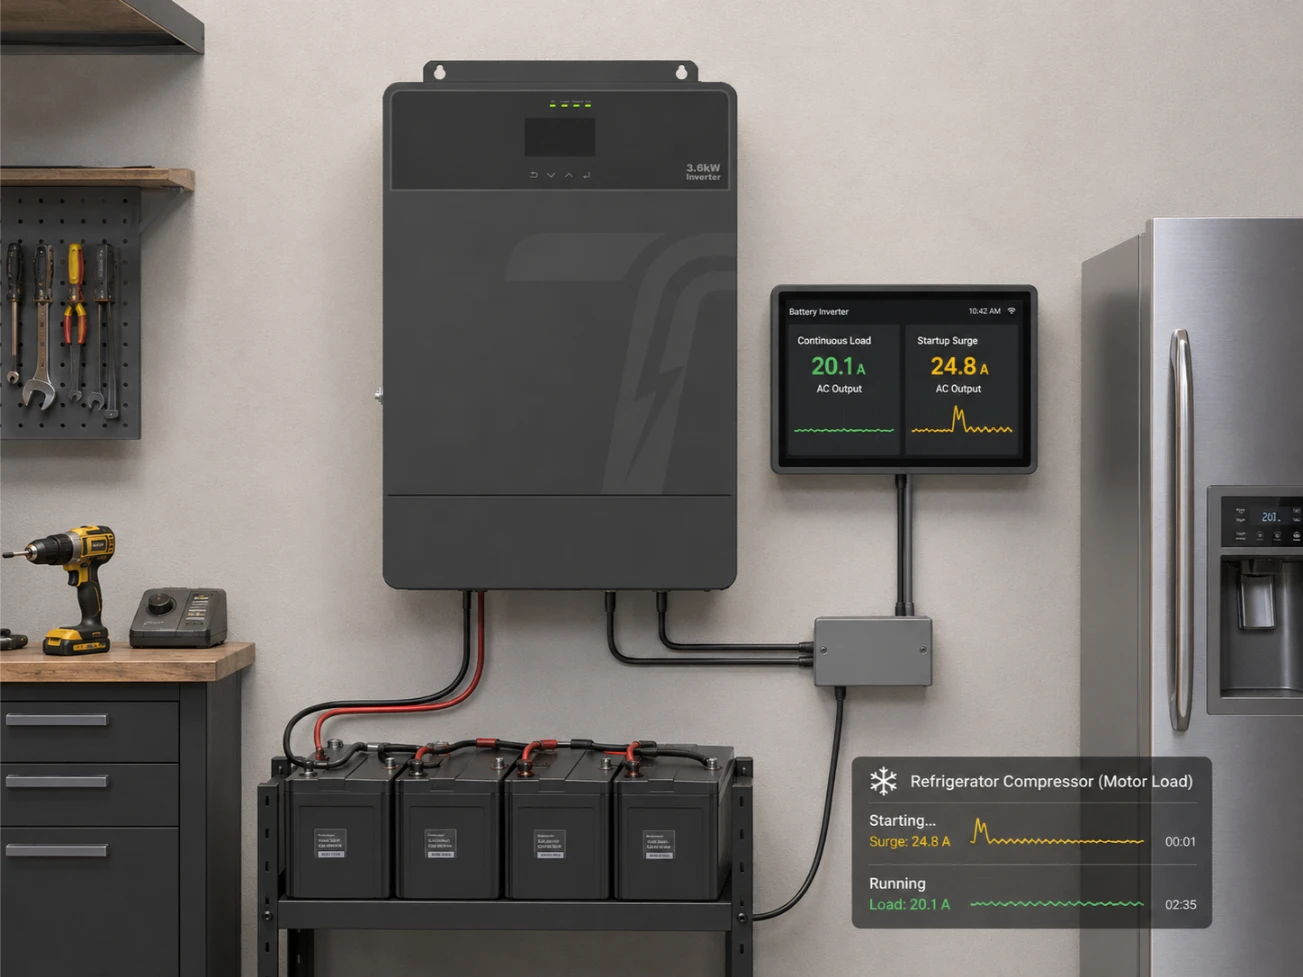
For a reliable battery backup system, I use a pure sine wave inverter. It supplies clean AC power that is suitable for refrigerators, sump pumps, well pumps, power tools, Wi-Fi equipment, medical devices, and sensitive electronics.
Size for Running Power and Surge Power
The inverter must handle both total continuous load and the highest startup surge.
| Load requirement | What it means | Inverter requirement |
|---|---|---|
| Continuous watts | Power needed while devices are running | Inverter continuous rating must exceed combined running watts |
| Starting surge watts | Short burst needed by motors and compressors | Inverter surge rating must cover the largest startup load |
For example, if essential loads run at 2,200W and a pump needs a higher startup surge, a 3,000W inverter may be appropriate only when its surge rating supports that pump. Use the inverter’s published continuous and surge ratings, not its peak marketing number alone. This guide to how many amps a 3,000-watt inverter generator can handle can help convert inverter power into expected AC current.
Choose the Right Inverter Type
| Type | Best use | Key point |
|---|---|---|
| Inverter-only | Simple DC battery to AC power | Requires separate battery charging equipment |
| Inverter charger | Home backup, cabins, RVs | Combines AC inversion and battery charging |
| Off-grid inverter | Independent solar or remote power systems | Designed for battery-based operation |
| Hybrid inverter | Solar, battery, and grid-connected applications | Supports broader energy-storage integration |
An all-in-one inverter charger can reduce external wiring by combining inverter and charging functions in one unit. For larger solar battery backup projects, a hybrid inverter may also simplify coordination between battery storage, solar input, and grid charging.
Match Battery Voltage to Inverter Input
The inverter DC input must exactly match the nominal battery-bank voltage.
| Battery bank | Match with |
|---|---|
| 12.8V nominal | 12V inverter |
| 25.6V nominal | 24V inverter |
| 51.2V nominal | 48V inverter |
Do not connect a 24V or 48V battery bank to a 12V inverter. A voltage mismatch can damage equipment and create a serious DC safety hazard.
Inverter and Charger Checks
Before installing an inverter charger, I verify these operating limits:
- Low-voltage shutdown: Prevents excessive battery discharge.
- Idle consumption: Power used while the inverter is switched on with little or no load.
- Pass-through capability: Allows utility or generator AC to feed loads while charging the battery.
- Charger output: Must stay within the battery manufacturer’s permitted charge-current limit.
- Generator support: Important where generator charging is part of the outage plan.
- Battery communication: Check whether the inverter can work with the battery management system (BMS) through supported communication protocols.
For LiFePO4 battery backup systems, use inverter settings that match the battery manufacturer’s voltage, charge-current, and discharge-current limits. A properly matched pure sine wave inverter and charger protects the battery bank while keeping essential loads running smoothly.
Add Charging Sources to Your Battery Backup System
I use more than one charging source when reliable recovery matters. AC grid charging can restore the battery after an outage, while solar input can support longer off-grid operation. Some integrated ESS units combine the battery, inverter, charger, and PV input in one enclosure, reducing wiring complexity.
Match the Charger to the Battery
- Confirm that the charger voltage matches the battery bank: 12.8V, 25.6V, or 51.2V.
- Keep charging current within the battery and BMS limits.
- For solar charging, select an MPPT charge controller-a controller that adjusts solar input for efficient battery charging-based on the solar array voltage, battery voltage, and maximum charging current.
- Use approved DC-to-DC charging equipment for vehicle, RV, van, or alternator applications.
- A generator may serve as an additional charging source when the inverter or charger supports it.
Safety check: Do not connect a charging source until polarity, voltage, cable ratings, and charger settings have been verified. Excessive charging current can trigger BMS protection, overheat cables, or damage the battery. Follow the battery manufacturer’s charging limits and use certified components where required, including applicable UN38.3, MSDS, UL1973, CE, and FCC documentation.
Design DC Wiring and Circuit Protection
I design the DC side around the battery bank voltage and inverter demand. Calculate maximum current with:
DC current (A) = inverter power (W) / battery voltage (V)
A higher-voltage system generally carries less current for the same power. This helps reduce cable size and losses, but the battery, inverter, and future loads must use the same nominal voltage.
| Check | Practical guidance |
|---|---|
| Cable size | Use an appropriate AWG chart for continuous and surge current |
| Battery cables | Select correctly rated cables, lugs, busbars, heat shrink, and cable glands |
| Main protection | Use a suitable Class T fuse, ANL fuse, or DC-rated circuit breaker |
| Fuse rating | Match it to inverter current, cable capacity, and interrupt rating |
| Disconnect | Install a DC disconnect for servicing and emergency shutdown |
| Cable routing | Keep DC cables short, supported, protected, and clearly labelled |
The main battery fuse should be installed close to the positive battery terminal. Avoid undersized cables, loose lugs, poor fuse placement, and stacked terminals. High-current DC can create dangerous arcs and rapid overheating, so I follow the equipment manufacturer’s instructions and use qualified electrical support where required. A professionally specified floor-standing LiFePO4 battery system can also simplify battery enclosure and protection planning.
How to Build a Battery Backup System: Grounding and Grid Connection
Grounding is a critical safety step in any home battery backup system. I connect the inverter chassis, metal enclosure, and battery rack to the correct equipment-grounding point according to the inverter and local electrical requirements.
| Area | What to verify |
|---|---|
| Inverter and enclosure | Correct equipment grounding connection |
| Battery rack | Bonded where required by the system design |
| DC negative | Grounded or left floating only as specified by the inverter and battery documentation |
| Neutral system | Neutral bonding must match the inverter and transfer-switch design |
Use a manual transfer switch or automatic transfer switch to separate backup circuits from the utility supply. This prevents dangerous backfeed during an outage. An essential-loads subpanel can supply selected circuits such as refrigeration, lighting, communications equipment, or medical devices without energising the entire service panel.
Safety warning: Do not improvise neutral bonding, grounding conductors, or transfer-switch wiring. Panel work, utility interconnection, permits, and inspections should be handled by a licensed electrician in accordance with local electrical code.
Build the Battery Backup System
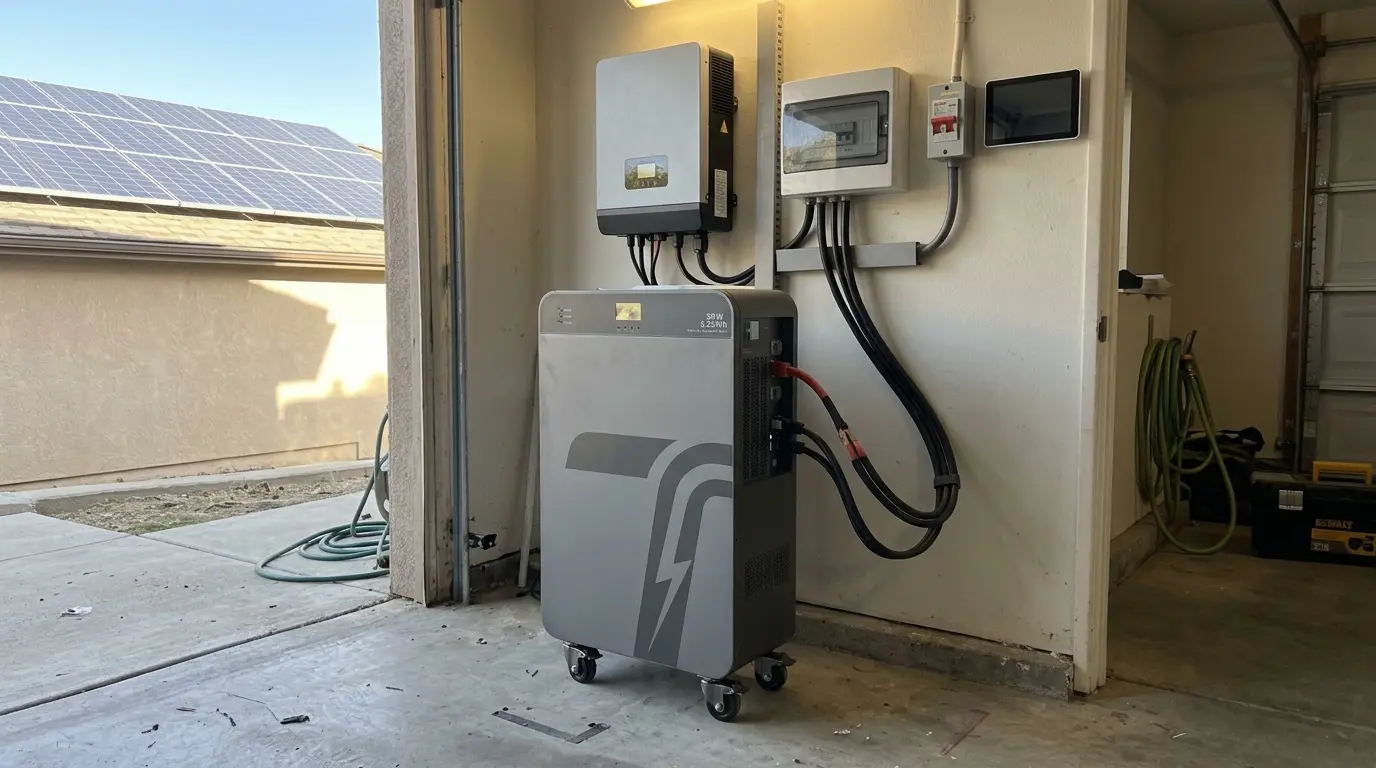
I build a battery backup system in a dry, cool, ventilated, non-combustible location. The area must provide enough clearance for inspection, cable routing, cooling, and future service. Avoid damp rooms, direct sunlight, heat sources, and locations where the battery cabinet could be exposed to impact.
For a floor-standing system, I use a stable, level surface. Wall-mounted batteries need a suitable load-bearing wall, while rack-mount batteries require a correctly sized equipment rack or cabinet. Modular floor-standing systems can simplify installation when the battery capacity may need to expand; I also review the key factors when selecting a floor-standing LiFePO4 battery manufacturer before sourcing equipment.
Mounting and Wiring Checklist
| Item | Installation focus |
|---|---|
| Battery modules | Secure firmly and allow service clearance |
| Inverter and charger | Mount according to the manufacturer’s instructions |
| Busbars | Cover and protect against accidental contact |
| Fuses and disconnects | Install where they remain accessible |
| Charge controller | Provide ventilation and correct cable routing |
| Cable lugs | Crimp correctly, apply heat shrink, and label both ends |
Connect battery modules in series or parallel only when the manufacturer approves the configuration. The modules should have compatible voltage, capacity, chemistry, and BMS requirements. Never combine batteries with mismatched specifications.
I keep the main connection path organised:
- Battery bank
- Main DC fuse
- DC disconnect
- Busbars
- Inverter or inverter charger
- Charging equipment
- Approved backup loads
I torque battery terminals and busbars to the specified values. Loose connections can create resistance, heat, and arc risk. High-current lugs must be properly crimped, sealed with heat shrink, and supported so cable weight does not pull on the terminals.
Safety callout: High-current DC wiring can produce dangerous arcs even when the system voltage appears low. Use the correct fuse type and interrupt rating, keep exposed busbars covered, and isolate the battery before servicing.
Keep DC cables short, protected, and firmly supported. Route them away from sharp edges and separate them from AC wiring where required. Complete grounding, transfer-switch, and essential-loads-subpanel work according to local electrical code. I use a licensed electrician for service-panel connections, transfer switches, permits, inspections, and any grid-connected work outside my skill level.
Commission and Test the Backup Power System
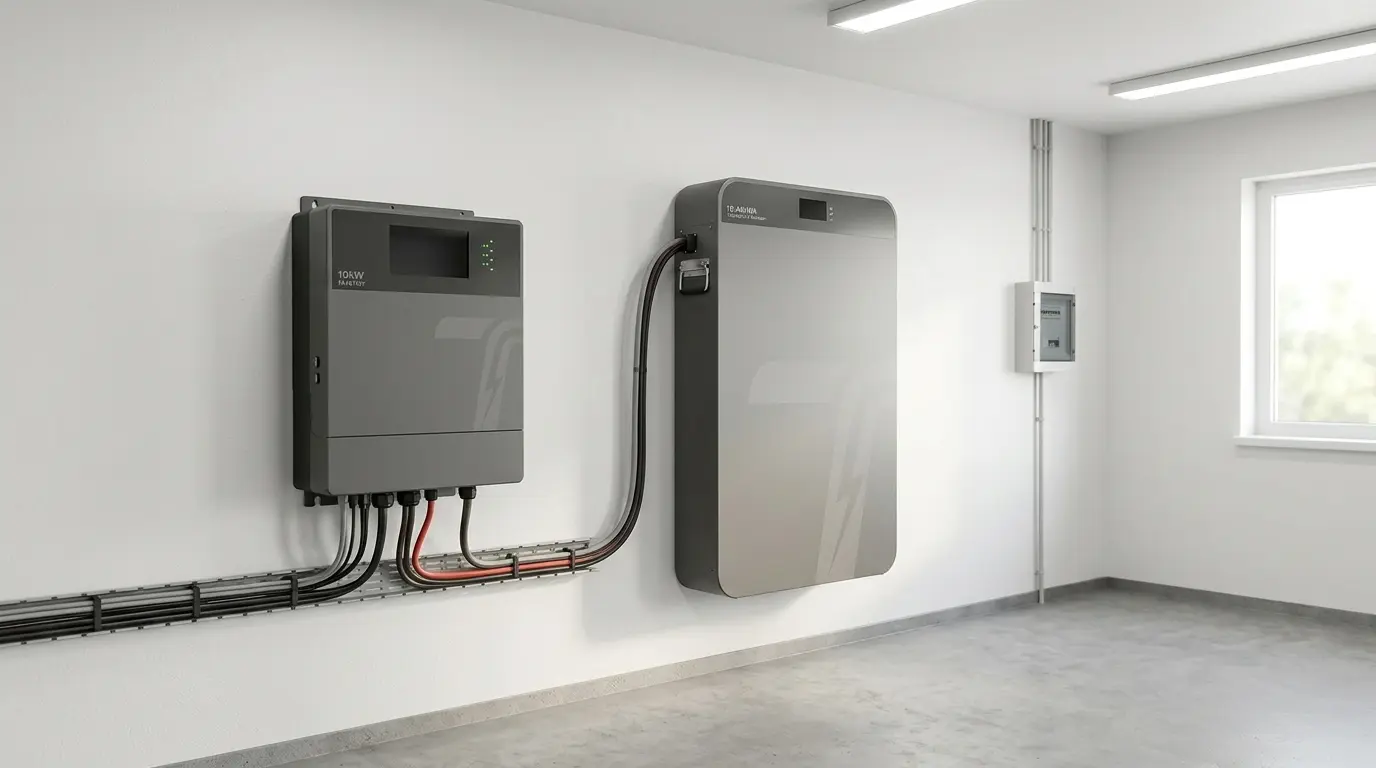
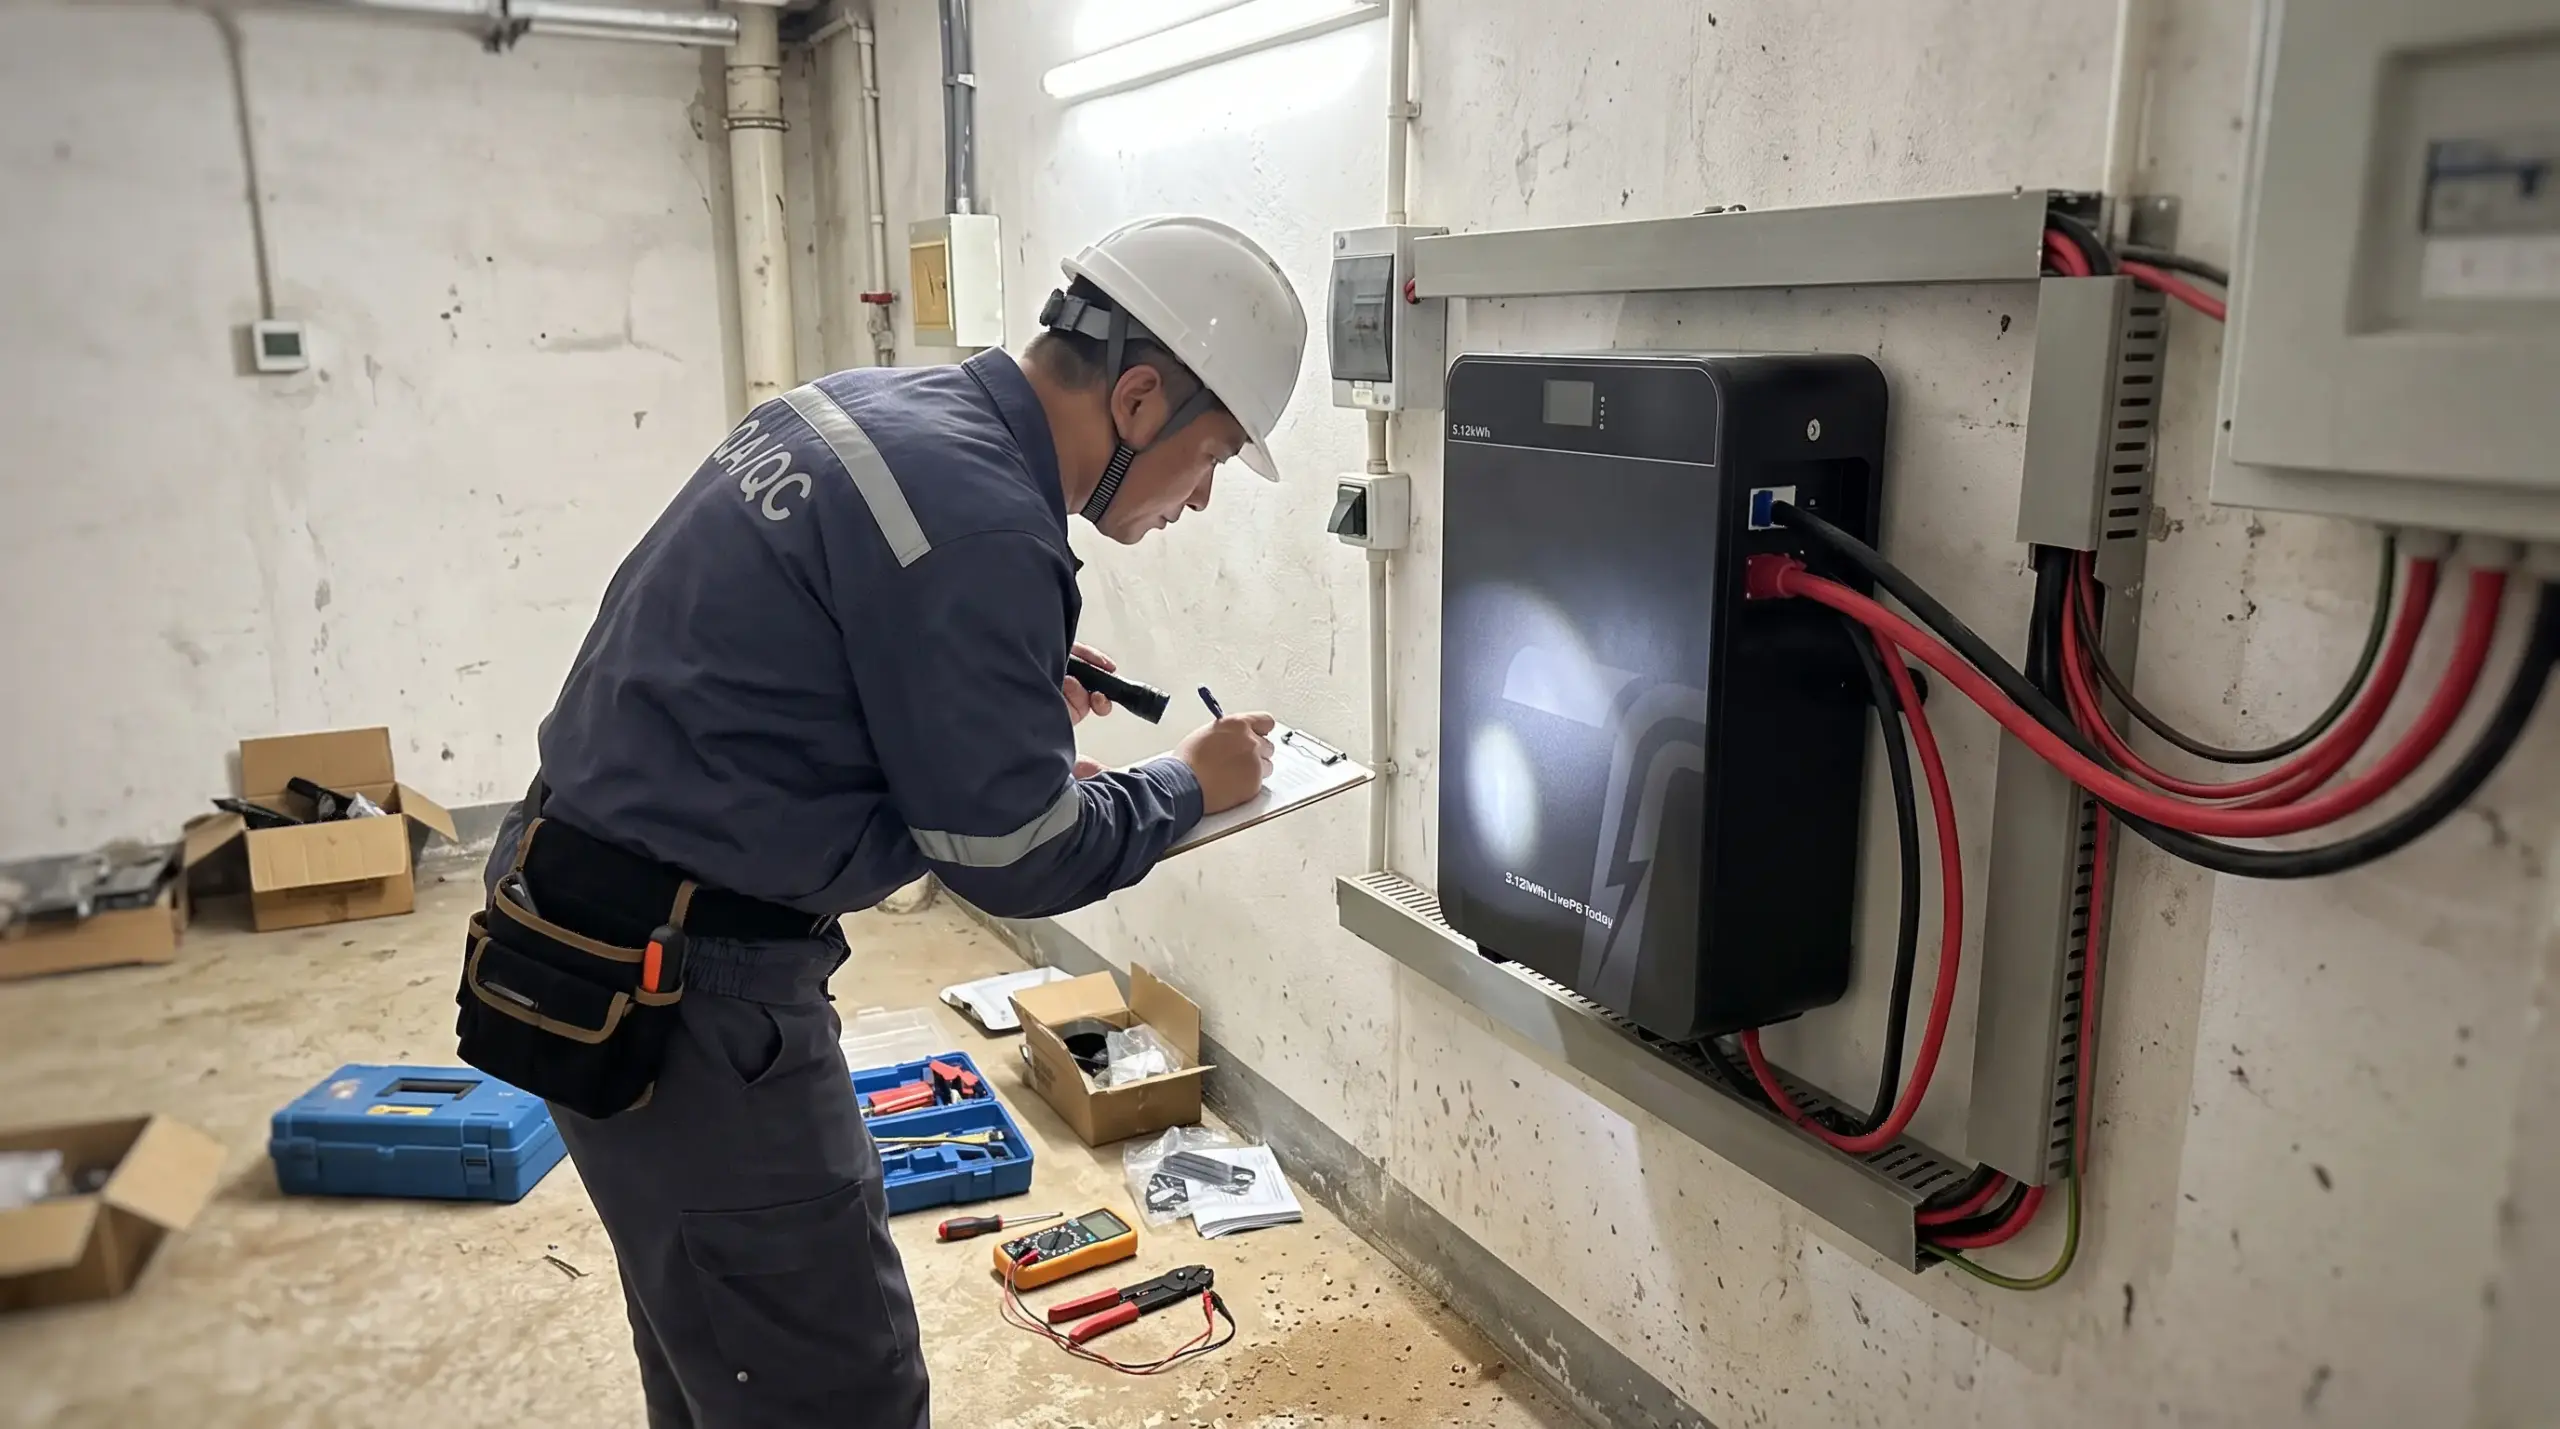
Commissioning is where I confirm that a battery backup system is safe before it carries real loads. High-current DC can arc, overheat cables, and damage equipment if polarity, fuse protection, or settings are wrong.
Pre-Power Inspection
Before turning anything on, inspect every connection:
| Checkpoint | What to Confirm |
|---|---|
| Battery polarity | Positive and negative cables are connected to the correct terminals |
| Terminal torque | Battery terminals, busbars, lugs, and inverter terminals meet the manufacturer torque requirement |
| Fuse protection | Main fuse and DC breaker ratings match the inverter’s maximum DC current |
| Cable routing | DC cables are short, secured, protected from abrasion, and separated from AC wiring where required |
| Grounding | Inverter chassis, metal enclosure, and battery rack are correctly grounded |
| Battery condition | Battery voltage and state of charge are within the approved operating range |
Safety warning: Never rely on cable color alone. Verify polarity with a properly rated meter before connecting the inverter.
Pre-Charge the Inverter
An inverter contains large capacitors that can draw a sudden inrush current when connected to a LiFePO4 battery bank. This can create a sharp arc at the disconnect or battery terminal.
Use one of these methods:
- Use the inverter manufacturer’s approved pre-charge procedure.
- Use a suitable pre-charge resistor before closing the main DC disconnect.
- Use equipment with an integrated pre-charge function where provided.
Do not repeatedly make and break a live battery connection to “charge” the inverter capacitors. Repeated arcing can damage terminals, fuses, and the inverter.
Program LiFePO4 Battery and Inverter Settings
Set the inverter charger according to the battery manufacturer’s approved limits. Confirm these values before charging or discharging the system:
- Battery voltage and nominal system voltage: 12.8V, 25.6V, or 51.2V as applicable
- Maximum charge current
- Maximum discharge current
- Low-voltage cutoff
- Charging voltage
- Battery type or LiFePO4 profile
- Inverter continuous output limit
- Generator or AC charging settings, if used
The battery management system (BMS) provides protection against overcharge, over-discharge, overcurrent, short circuits, and temperature limits. Inverter settings must still stay within the battery and BMS ratings.
Test Loads and Transfer Operation
Start with small loads, then add essential circuits one at a time. Test refrigerators, pumps, Wi-Fi equipment, lights, and other priority loads under normal use.
Pay close attention to startup surge wattage from compressors, sump pumps, well pumps, and power tools. The inverter must handle both the continuous running load and the brief surge load.
For systems connected to backup circuits:
- Confirm normal utility operation.
- Switch or simulate a grid outage using the approved transfer equipment.
- Verify that the essential loads subpanel transfers correctly.
- Confirm that the system does not backfeed the utility grid.
- Restore utility power and verify charging and transfer behavior.
Use a licensed electrician for service-panel work, transfer switches, utility interconnection, permits, and inspections.
Monitor Under Load
Run a realistic load test and check the system for at least several minutes. Watch for:
- Excessive voltage drop at the battery or inverter
- Warm cables, lugs, busbars, fuses, or disconnects
- Inverter alarms or unexpected shutdowns
- Battery temperature warnings from the BMS
- Loose connections, unusual smells, or discoloration
- Charging behavior that exceeds the programmed limits
Stop the test immediately if cables become unusually hot, protection devices trip repeatedly, or the inverter reports a battery, overload, or temperature fault.
Record the Final System Data
Keep a simple commissioning record with the following details:
| Record | Include |
|---|---|
| Wiring diagram | Battery bank, busbars, fuses, disconnects, inverter, charger, and critical loads |
| Protection ratings | Fuse, DC breaker, AC breaker, and disconnect ratings |
| Battery information | Voltage, capacity, BMS limits, and installation date |
| Inverter settings | Charge limits, low-voltage cutoff, output limit, and battery profile |
| Test results | Load watts, surge behavior, voltage drop, transfer test, and alarms |
| Maintenance log | Inspection dates, terminal torque checks, and any replacement parts |
A documented battery backup system is easier to maintain, troubleshoot, expand, and service safely.
DIY Battery Backup vs. Prebuilt ESS
When I build a DIY battery backup system, I can control the battery bank, inverter, enclosure, and expansion path. The trade-off is time: I must source compatible parts, build high-current DC wiring, resolve configuration issues, and meet local electrical requirements.
| Option | Best fit | Main consideration |
|---|---|---|
| DIY battery backup system | Custom off-grid, RV, cabin, and technically managed projects | Requires component compatibility checks, wiring skill, protection design, and troubleshooting |
| LiFePO4 portable power station | Compact emergency loads and mobile power | Limited compared with a larger fixed system |
| Rack-mount battery system | Structured racks, telecom-style installations, and modular builds | Requires compatible inverter, rack layout, and approved battery connections |
| Stackable all-in-one ESS | Residential backup with simpler installation | Less custom wiring and a more defined expansion format |
| Commercial battery backup system | Larger or multi-load projects | Better when custom field wiring becomes space-heavy or difficult to certify |
A DIY build can look less expensive at the component level, but total cost should include battery cables, busbars, lugs, fuses, disconnects, mounting hardware, enclosures, tools, shipping, replacement parts, and electrician work. I also allow for the time spent on drawings, wiring, commissioning, fault finding, and inspections.
Pre-engineered energy storage systems reduce integration work because the battery, BMS, and enclosure are designed as a coordinated product. Factory-built LiFePO4 systems can be practical where a clean installation, repeatable deployment, and clear support path matter more than maximum customization. For supplier selection, compare battery construction, expansion options, and support terms alongside home battery brand options.
Certification and Compliance
Certification requirements depend on the installation location and project scope. Review applicable documentation before purchasing equipment:
- UL 1973: Battery safety standard commonly relevant to stationary battery systems.
- UL 9540: Energy storage system certification that may be required for installed ESS projects.
- CE and FCC: Relevant compliance markings for applicable markets and electronic equipment.
- UN38.3 and MSDS: Important for lithium battery transport and shipping documentation.
Safety note: A certified battery module does not automatically make the complete DIY battery backup system compliant. The inverter, transfer equipment, protection devices, wiring method, installation location, and local code requirements also matter. Use a licensed electrician for service-panel connections, transfer switches, permitting, and utility interconnection.
When a Prebuilt System Makes More Sense
I move from custom wiring to a modular ESS when the system needs high power, significant storage, multiple battery strings, or a code-sensitive home or commercial installation. Stackable floor-standing systems, rack-mount ESS units, and integrated battery-inverter solutions can reduce installation complexity while retaining room for planned growth.
Before selecting either path, confirm:
- Battery warranty and expected replacement-part availability
- Technical support for BMS, inverter, and monitoring settings
- Approved series or parallel expansion limits
- Available space, ventilation, and equipment access
- Compatibility with future solar, grid charging, or generator charging
- Documentation needed for inspection, transport, and the target market
For larger deployments, a factory-backed LiFePO4 solution with intelligent BMS protection, modular capacity, and documented compliance can be the more controlled route than assembling a high-current battery bank from separate parts.
Maintain and Expand Your Battery Backup System
I treat maintenance as part of building a reliable battery backup system. Track battery state of charge, charge cycles, cell temperature, inverter load, and solar production so small problems do not become outage failures.
| Check | What to Look For | Action |
|---|---|---|
| Battery status | State of charge, temperature, alarms | Keep operation within BMS limits |
| Inverter load | High continuous load or overload warnings | Reduce nonessential loads if needed |
| DC connections | Loose lugs, corrosion, discoloration, heat damage | De-energize the system and correct the connection |
| Fuses and disconnects | Damage, heat marks, secure mounting | Replace only with correctly rated DC protection |
| Solar charging | Expected production and charging behavior | Confirm controller and battery settings |
Use Wi-Fi, Bluetooth, BMS telemetry, or an energy monitor for remote tracking. TURSAN systems can support Wi-Fi/Bluetooth IoT functions and multi-API protocols, helping installers and operators review system status without opening the battery enclosure.
Safety: High-current DC connections can overheat even when the system appears to operate normally. Inspect battery cables, lugs, busbars, fuses, and DC disconnects regularly. Check terminal torque to the manufacturer’s specification. Under sustained loads, thermal imaging can help identify hot connections before they cause damage.
Calibrate state-of-charge readings when the displayed percentage no longer matches actual battery behavior. Use the approved battery and inverter settings, especially for LiFePO4 battery banks with intelligent BMS protection.
Add Battery Capacity Safely
Expand a battery backup system only with compatible parallel battery packs. Match:
- Battery chemistry: LiFePO4 with LiFePO4 only
- Nominal voltage: 12.8V, 25.6V, or 51.2V as applicable
- Capacity and model: Use matching amp-hour capacity where possible
- Battery age and condition: Avoid mixing heavily used modules with new ones
- BMS and manufacturer rules: Follow approved series and parallel limits
For larger home backup or commercial projects, modular rack-mount or stackable systems can simplify expansion, cable management, and service access. Review home battery brand and system options when comparing modular energy storage systems with a fully custom battery bank.
Battery Backup System FAQs
How large of a battery backup system do I need for a refrigerator, lights, and Wi-Fi?
Add the continuous wattage of the refrigerator, lights, and Wi-Fi equipment, then check the refrigerator’s starting surge. Select a pure sine wave inverter that handles both values. For battery capacity, use:
Watts x hours = watt-hours
Add an efficiency margin for inverter losses and real-world use. For a more detailed runtime method, see this guide to how long a solar battery can power a house.
How many batteries are needed to run a house during a power outage?
The number depends on the essential loads, outage duration, inverter size, and required energy capacity. A small backup may use one battery module, while whole-home or extended off-grid backup requires a larger battery bank. TURSAN systems range from 1.28kWh to 32.15kWh, depending on the battery configuration.
Is a 12V, 24V, or 48V battery backup system best for home use?
Choose the nominal voltage that matches the inverter and expected load:
- 12V: Suitable for smaller battery backup applications.
- 24V: Useful for medium-sized systems.
- 48V: Better suited to higher-power home and energy storage systems.
The available system voltages include 12.8V, 25.6V, and 51.2V. Higher-voltage designs can reduce DC current for the same power, but every component must be compatible.
Can I connect LiFePO4 batteries in parallel or series?
Only connect batteries in series or parallel when the manufacturer approves that configuration. The batteries should have compatible voltage, capacity, chemistry, and battery management system requirements. An intelligent BMS helps manage protection and battery operation, but it does not replace correct system design.
What size inverter do I need for a sump pump, well pump, or refrigerator?
Size the inverter above the combined continuous running watts and confirm that it can handle the starting surge of motors and compressors. A pure sine wave inverter is the appropriate choice for pumps, refrigerators, tools, and sensitive electronics. Available inverter options include off-grid models from 1.2kW to 10kW and hybrid models from 5.6kW to 12kW.
Do I need a transfer switch for a home battery backup system?
A transfer arrangement is required when a battery system supplies fixed household circuits connected to the electrical installation. It prevents the backup source from feeding electricity back into the utility grid. Use an essential-loads subpanel or approved transfer equipment, and have service-panel work completed by a qualified electrician in line with local requirements.
Can I charge a battery backup system with solar panels and grid power at the same time?
This is possible only when the battery system, inverter, and charging equipment are designed to coordinate those sources. Check the inverter charger’s configuration, charging limits, and installation instructions before combining solar and grid charging. Hybrid systems can integrate multiple energy sources in one system architecture.
What fuse size and wire gauge should I use for a battery inverter?
Calculate the maximum DC current from the inverter power and battery voltage, then select cables and protection for the continuous and surge current. Use correctly rated battery cables, lugs, busbars, and a DC-rated fuse or circuit breaker. The main battery fuse should be installed close to the positive battery terminal. Exact fuse and cable sizes must be confirmed from the inverter and battery specifications.
High-current DC wiring can create dangerous arcs and overheating. Do not use undersized cables, loose terminals, or incorrectly rated fuses.
How long will a 100Ah LiFePO4 battery run my appliances?
Runtime depends on battery voltage, appliance load, inverter consumption, and usable battery capacity. A 12.8V, 100Ah battery has a nominal capacity of approximately 1.28kWh before system losses and operating limits. Estimate runtime by dividing usable watt-hours by the appliance’s running watts, while allowing for inverter losses and starting surges.
Is it safer to build a DIY battery bank or buy a prebuilt energy storage system?
A DIY battery bank offers design flexibility but requires correct battery matching, BMS protection, DC wiring, fusing, grounding, testing, and code compliance. A prebuilt LiFePO4 power station, rack-mount ESS, or stackable system can simplify integration and sourcing. TURSAN systems use LiFePO4 cells, intelligent BMS technology, and documented certifications including UN38.3, MSDS, UL1973, CE, and FCC.