Lithium Iron Phosphate (LiFePO4) batteries are gaining popularity due to their high energy density, long cycle life, and safety features. Combining these batteries with solar power is an excellent way to create a reliable and sustainable energy system. This guide will walk you through the steps and considerations for effectively charging LiFePO4 batteries using solar panels.
Understanding LiFePO4 Batteries
Benefits of LiFePO4 Batteries
- Long Lifespan: Can last up to 10 years or more.
- Safety: Resistant to thermal runaway and do not overheat easily.
- Efficiency: High charge and discharge efficiency.
- Lightweight: Lighter than lead-acid batteries which makes them easier to handle.
Components Needed for Charging
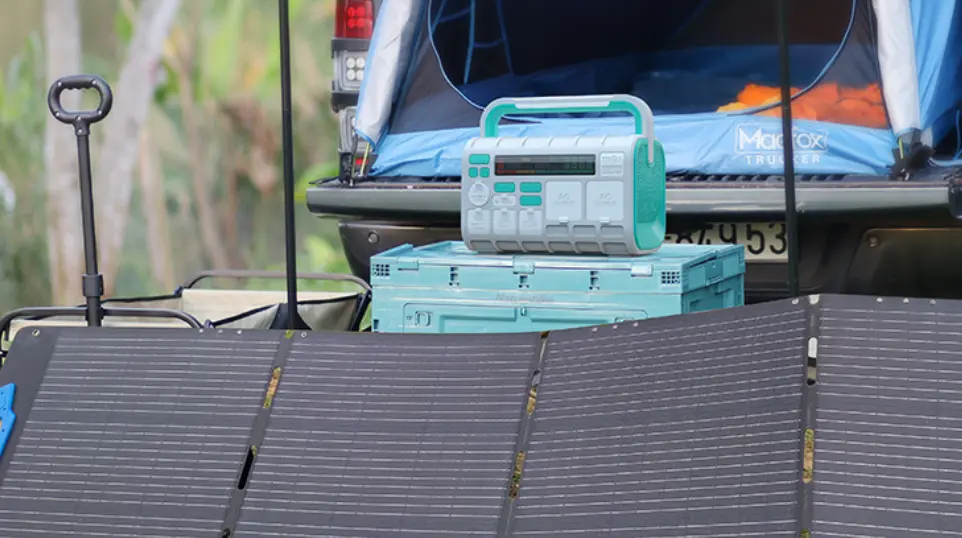
Solar Panels
Solar panels capture sunlight and convert it into electricity. The amount of energy generated depends on the panel’s wattage and the amount of sunlight received.
Charge Controller
A charge controller regulates the voltage and current coming from the solar panels to prevent overcharging and damage to the battery. For LiFePO4 batteries, it’s crucial to use a charge controller that supports lithium battery settings.
Battery Management System (BMS)
A BMS monitors the state of the battery, ensuring safe operation by protecting against over-voltage, under-voltage, over-current, and excessive temperature.
Inverter (Optional)
If you need to convert DC power from the battery to AC power for household appliances, an inverter is required.
Calculating Your Energy Needs
Before setting up your system, determine your daily energy consumption. Calculate the total watt-hours (Wh) needed per day by listing all devices you plan to power and their energy requirements.
Example:
- LED light: 10W * 5 hours = 50Wh
- Laptop: 60W * 4 hours = 240Wh
- Total = 290Wh/day
Choosing the Right Solar Panel and Battery Capacity
Solar Panel Sizing
To ensure sufficient energy production, consider the peak sun hours in your location. A common formula is:
Total Wattage Needed = Daily Energy Consumption (Wh) / Peak Sun Hours
For example, if you need 290Wh per day and have 5 peak sun hours:
Total Wattage Needed = 290 / 5 = approx 58W
It’s advisable to add a buffer, so consider a 100W solar panel.
Battery Capacity
To find the appropriate battery capacity:
Battery Capacity (Ah) = Daily Energy Consumption (Wh) / Battery Voltage (V)
For a 12V system:
Battery Capacity = 290 / 12 = approx 24Ah
Again, adding a buffer is prudent, so a 30Ah battery would be a safer choice.
Setting Up the System
Step-by-Step Installation
- Mount Solar Panels: Install the solar panels in a location with maximum sun exposure, typically facing south in the northern hemisphere.
- Connect Charge Controller: Connect the solar panels to the charge controller. Ensure the controller is set to the correct battery type (LiFePO4).
- Connect Battery: Attach the charge controller to the battery. Double-check polarities to avoid damage.
- Monitor System: Use the charge controller’s display or app (if available) to monitor the system’s performance and battery status.
Maintenance Tips
- Regular Inspection: Check connections and clean solar panels regularly to maintain efficiency.
- Temperature Monitoring: Ensure the battery operates within the recommended temperature range.
- Firmware Updates: Keep the charge controller firmware up-to-date for optimal performance.
Charging LiFePO4 batteries with solar power is an efficient and eco-friendly solution for various applications, from off-grid living to backup power systems. By carefully selecting the right components and properly sizing your system, you can enjoy a reliable and sustainable energy source. Always follow manufacturer guidelines and consider consulting with a professional for complex installations.