
Have you ever dreamed of building a DIY solar generator? Now might be the perfect time to turn that dream into reality. Understanding the components and steps involved in creating a solar generator can be incredibly rewarding, even if you ultimately decide to purchase a pre-built system. This article will guide you through the essentials of building a DIY solar generator, offering insights into the necessary parts and the assembly process.
What is a Solar Generator?
Solar generators are an emerging technology that allows for the generation and storage of electricity without relying on the utility grid, burning fuel, or creating noise. These devices capture energy from the sun to charge batteries, and a built-in inverter converts the stored direct current (DC) into alternating current (AC) that can be used to power household appliances. Solar generators are fuel-free and require no oil changes or adjustments, making them a convenient, portable, and self-contained alternative to traditional off-grid photovoltaic (PV) systems.
Parts and Components to Build a DIY Solar Generator
Building a solar generator involves assembling six main components:
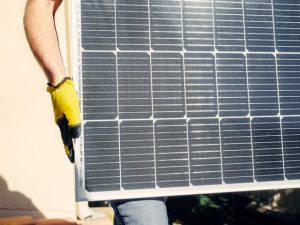
Solar panels convert sunlight into direct current (DC). Opt for portable or foldable solar panels, which are designed to be compact and robust for outdoor use.

Solar Charge Controller
An MPPT (Maximum Power Point Tracking) solar charge controller optimizes the power output from your solar panels, providing a reliable and clean current to charge your battery.
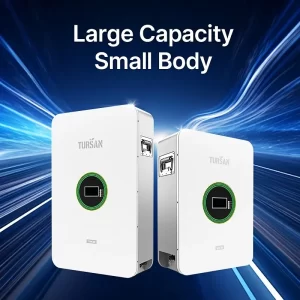
Batteries store the solar energy for use on demand. You can choose between lead-acid and lithium-ion batteries. Lithium-ion batteries, specifically LiFePO4, are recommended for their superior longevity, reliability, and energy density.

Since most household appliances use AC power, you’ll need an inverter to convert the DC power from your solar panels and battery into AC power. Pure sine wave inverters are recommended for efficient power conversion and a clean power supply.
Case
A sturdy case protects your DIY solar generator from dust and moisture, ensuring its longevity. It also makes the generator portable and easy to carry.
Circuit Breakers and Wires
These components are essential for safely connecting the various parts of your solar generator and ensuring it operates securely.
Assembling Your DIY Solar Generator: Step-by-Step Guide
Follow these steps to build your solar generator:
Prepare Your Case
Use a hole saw to cut openings in the case for socket plugs and other external components. Seal the openings with silicone to prevent moisture ingress.
Install the Battery
Place the battery in the corner of the case and secure it with battery straps.
Install the Solar Charge Controller
Glue the solar charge controller inside the case, ensuring there is enough space for connecting the battery and solar panel.
Install the Inverter
Mount the inverter near the outlet and secure it with straps. Ensure adequate airflow around the inverter for cooling.
Wiring and Fuse Installation
Connect the socket plug to the inverter using 12 AWG wire. Wire the inverter to the battery and the battery to the solar charge controller. Connect the solar panel extension cord to the solar charger. Install fuses between the solar panel and charge controller, the charge controller and battery, and the battery and inverter.
Congratulations! You now have a portable, homemade solar generator that can produce green energy anywhere, without noise or emissions. Your DIY solar generator is compact, easy to operate, safe, maintenance-free, and built to last. For optimal performance, fully expose the solar panels to sunlight and consider adding a small fan inside the enclosure for cooling. Enjoy your newfound energy independence and the satisfaction of having built your own renewable energy solution.